In this article
A feed where every photo has different light, different backgrounds and different colors looks like five brands, not one. Consistent product photos make a small brand look established. And you don't need a studio to get them: you need a few rules and the discipline to follow them.
1. Pick one background and stick to it
Choose one or two surfaces and use them for every product shot: a piece of white card, a sheet of stone-look vinyl, a linen cloth. Buy them once, keep them flat, and don't improvise with whatever table you're near.
2. Use the same light every time
Window light is free and flattering. Shoot at the same window, at the same time of day, with the product in the same spot. Avoid direct midday sun; soft, indirect light is easier to match from one session to the next.
If you shoot at night or in a dark room, one soft LED panel on the same side every time works just as well. Turn off the ceiling lights so you don't mix colors.
3. Fix the angle
Decide your two or three angles and repeat them: straight on at product height, a 45° view from above, and a flat lay from directly overhead. Mark the camera position with tape if you have to.
4. Limit your props
Props are where consistency usually falls apart. Choose a small set that matches your brand, maybe a ceramic dish, a stone, a sprig of something dried, and use only those. Fewer props also keep the focus on the product.
5. Edit with one preset
Edit one photo until it looks right: exposure, white balance, a little contrast. Save those settings as a preset in Lightroom or your phone's editing app, and apply it to every photo from that session. Then adjust only the exposure if needed.
6. Mix in lifestyle photos carefully
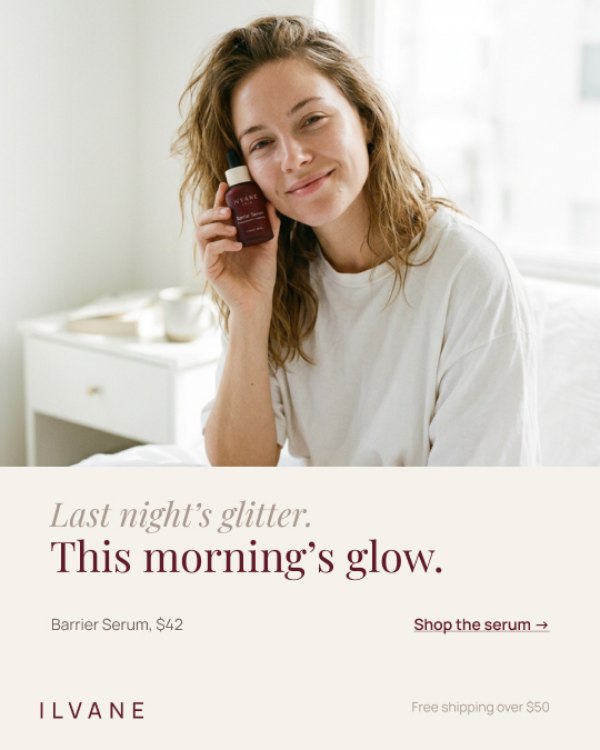
Photos of people using your product make a feed feel alive. Keep them in the same color family as your product shots, and don't let them outnumber the clean product photos. A rough guide: one lifestyle photo for every two product or detail shots.
7. Let templates do the rest
Even with perfect photos, the text and layout on your posts change how consistent your feed looks. Templates with the same fonts, colors and spacing tie different photos together. When the layout is fixed, the photo is the only thing that changes.
A simple home setup for under $100
- Two foam boards (white and black): one as a background, one to bounce light or add shadow.
- One or two surfaces: a stone-look tile, a sheet of matte vinyl or a piece of linen.
- A phone tripod so the angle stays the same every time.
- One soft LED panel if you can't rely on window light.
- A few chosen props that match your brand colors.
Keep everything in one box so you can set up in five minutes. The faster it is to set up, the more often you'll actually shoot.
Shoot in batches
Plan one session a month. Shoot every product from your two or three angles, plus a few detail shots: the texture, the cap, the box. One hour can give you enough photos for a month of posts, all in the same light.
Phone camera settings that help
- Turn on the grid to keep products straight.
- Tap to focus on the label, then lower the exposure slightly so whites don't blow out.
- Use the 2x lens if you have one. It flattens the product and looks more like a studio shot.
- Turn off the flash, always.
- Shoot in the highest quality setting, so you can crop later.
Keep your products looking real
Consistency doesn't mean making every photo look like a render. Real texture, a fingerprint-free bottle and a natural shadow look premium. Heavy filters, glows and fake backgrounds make products look cheap and can make customers doubt what they'll receive.
Questions people ask about product photos
Can I take good product photos with a phone?
Yes. Modern phones are more than enough for Instagram and your store. Light and consistency matter far more than the camera.
What background color is best for skincare products?
A neutral that contrasts with your packaging: light grey or warm stone for dark bottles, a darker tone for white bottles. Avoid pure white if your packaging is white, since the product will disappear.
Should I hire a photographer?
For your hero images and launches, a photographer is worth it once you can afford it. For weekly content, a simple home setup with clear rules is enough.
Can I use AI-generated product photos?
For mood and lifestyle images, carefully. For your product itself, use real photos, so customers see exactly what they'll get.
Keep reading
Good photos go further inside a plan: see how to plan a month of Instagram posts, and if you are still choosing a tool for your templates, read Figma vs Canva for social media templates.
A quick checklist before you post
- Is the background one of your usual ones?
- Does the light come from the same side as your last photos?
- Does the edit match the rest of the grid?
- Is the product whole, not cropped at the cap or the base?
The Ilvane Skin social kit is built for exactly this: drop your own product photos into a year of matching layouts, in Figma or Canva, and your feed looks like one brand from the first post.